On Getting Started With Phoenix v1.3.0
When I first started becoming interested in Elixir one of the things that drew me to the language was how much attention Phoenix was getting. Articles such as hitting 2 million web sockets in Phoenix impressed me greatly, and really spurred on a building curiosity for distributed systems and functional programming in me. I began my Elixir journey attempting to get in to Phoenix, but the syntax and style of Elixir was just too different from what I had used previously for me to immediately jump straight in to a web framework. I didn’t want to simply learn Phoenix, and I worried that if I did I would rely too heavily on what the generators could do for me and struggle any time I wandered off the garden path.
Changes In Phoenix v1.3.0
The big new thing with Phoenix v1.3.0 is the new directory structure that the generators use, and where the generators put different types of code. Based on comments Phoenix’s creator Chris McCord made in this video, now would appear to be a great time for newcomers to Phoenix to start playing with the framework. These changes seem to be squarely aimed at helping people that are new to Phoenix make better decisions about their application from the get-go, and so should make it easier for newcomers to grow their Phoenix applications beyond a trivial tutorial application.
Note To Future Readers
This blog post was originally written using Phoenix v1.3.0-rc2. Between the original publication date of this blog post and Phoenix v1.3.0’s official release there were a number of changes that affected the examples in this blog post, including further directory structure updates, different names for schemas and tables created using the generators, and the removal of :required from the generators. This blog post has been updated to reflect those changes, and the example repository has been updated to reflect all of the new changes. The previous Phoenix v1.3.0-rc2 code is available in the same repository, and is tagged with phoenix_v1.3.0-rc2 .
Installing Phoenix
If you don’t already have a valid elixir environment up and running, we’ll need to get that done first. Instructions for macOS, several *nix flavours and Windows are available on the official elixir-lang website. As part of installing Elixir you’ll also get mix, a build tool and task runner for Elixir, which we’ll use throughout this blog post.
Installing Phoenix is pretty painless, however at the time of publishing we can’t follow those instructions verbatim, as Phoenix v1.3.0 currently only has Release Candidate releases available. Running the below incantation in your command line of choice should result in you with a version of Phoenix >= v1.3.0.
mix archive.install https://github.com/phoenixframework/archives/raw/master/phx_new.ez
And that should be pretty much it, pretty easy, right? You can run mix --help to list out all your available mix tasks, and if you do so you will hopefully see some tasks following the phx.* naming convention.
Building An App
For our first foray in to Phoenix, we’re going to be building out the beginnings of a rostering application. Rostering is a necessary part of many groups, including small businesses and sporting associations.
As many people can also attest it’s very easy for rosters to be poorly managed. I’m still amazed when I hear stories of people having to go in to work to look at a printout of an Excel spread sheet to find out what their shifts are for the coming weeks. Worse still, with that sort of system it’s easy for the roster to be changed without someone realising, potentially resulting in them missing a shift.
Thinking A Little Bit Up-Front
Now before we go bashing away at the terminal or IDE, since we’re just starting with our app let’s sit down and spend some time mapping out some of the bigger concepts we’ll need to include with our application.
Our application is a rostering application, so a concept of a “roster” is definitely going to be a part of it. Now, a roster is really just a collection of shifts that people will be working, so we’ll also need to model both of those concepts, shifts and people. And these people are building rosters to meet the needs of their group, so we’ll need a way of representing those groups in our application too.
Now in most groups, not everybody is responsible for creating the rosters, only certain people are, whether they be a boss, manager or a dad helping out their kid’s sporting team. It’s quite probable that somebody will need to be a member of multiple rosters, and depending on their status within a group, we may have to limit their ability to edit shifts. We’ll need to support these different relationships in our modelling of the situation, including tracking an individuals relationship with all groups they’re a member of.
So we’ve picked up a few core concepts we need to model, User, Shift, Roster, and Organisation. And we’ve also started to think about the relationships between these concepts.
    User 1 ────────── * Shift * ────────── * Roster
      *                                        1
      └────────── * Organisation * ────────────┘
To me, it seems we have three areas of concern, or domain boundaries; user management, organisation management, and rostering. We’ll have to keep that in mind when we begin scaffolding out our application. For now, let’s flesh out some of our domain a little bit more.
| Concept | Description | Data |
|---|---|---|
| User | A person, an actor upon the system | Email, Display Name, Password |
| Shift | A period of time assigned to a person | User, Start Time, End Time |
| Roster | Some collection of shifts | Name, Shifts |
| Organisation | Some collection of people | Users (Admins and Members), Rosters |
After laying all this out and thinking it through a little I think we might have enough to start working on v0.0.1 of our application!
Onwards, To Glory!
We will start by creating a new Phoenix application, by typing mix phx.new roster_app on the command line. This is a mix task installed with Phoenix that initialises a brand new project for us. It sets up a skeleton for the rest of our application to be built around. Phoenix will create a directory with your application name (in our case it’s roster_app) in your current location, and fill it with a large number of files. The mix task we called will namespace the generated code with the name of our app, RosterApp, which is the pascal case equivalent of the name we provided earlier.
Tell Phoenix to download it’s dependencies, and depending on the speed of your internet connection, maybe consider grabbing a coffee.
Once that’s done, it may be wise to make this new directory a git repo, if you get in to a bit of trouble while following along, it helps tremendously to be able to revert to a known good configuration.
cd roster_app
git init
git add .
git commit -m "Initial Commit"
By default Phoenix will want to store our data in Postgres. I’m pretty happy with Postgres as a choice of datastore for our application, but it’s much easier to manage while developing when you run it in a container. I’m going to be using Docker here, so grab it if you haven’t already got it. Run the below command in your terminal to spin up a container with Postgres 9.6.2 running.
docker run --rm --name roster-app-dev-db -p 5432:5432 -d postgres:9.6.2
I’ve used the --rm option above to make the dev loop a little easier. When mucking around sometimes you’ll make mistakes that will result in a database migration script that you don’t want to keep around being created. If it’s been run against the database I’ve found it’s easier to just nuke the container and start again, and this option save you having to remove the container manually as once it’s stopped it is immediately deleted.
If you’ve previously installed Postgres before, it may be occupying port 5432 already. If that’s the case, you can change the above command to docker run --rm --name roster-app-dev-db -p 6543:5432 -d postgres:9.6.2, and update your config/dev.exs file so that the database configuration includes the new port, like so;
config :roster_app, RosterApp.Repo,
  adapter: Ecto.Adapters.Postgres,
  username: "postgres",
  password: "postgres",
  database: "roster_app_dev",
  hostname: "localhost",
  port: 6543,
  pool_size: 10
Okay, so we’ve generated an application, and we now also have our data store spun up, time to get this puppy purring. The following command will compile our application, and attempt to connect to Postgres and set up the database.
$ mix ecto.create
Compiling 12 files (.ex)
Generated roster_app app
The database for RosterApp.Repo has been created
Generating Our Domain
The generators for Phoenix are a great way to quickly scaffold out some of the more repetitive parts of the development process, and if you’re building a basic crud app, a real boon to productivity.
There are quite a handful of generators available depending on the type of resource you’re looking to expose, including JSON, HTML, Channels, and even a new one in Phoenix v1.3.0, Context. We’ll be using the HTML generator, as this will allow us to interact with our application without having to worry too much about the UI for now.
The HTML generators in Phoenix v1.3.0 are invoked using commands that look like this;
mix phx.gen.html ContextName SingularResourceName PluralResourceName attributeA:type attributeB:type
phx.gen.html is a mix task that is installed with Phoenix, and it scaffolds out a lot of stuff for us. It creates a module with our schema definition in it, a database migration, a controller, some tests, and some view templates.
For generators (phx.gen.*) in Phoenix v1.3.0 and above you’ll need to provide at a very minimum a context name, a singular resource name and a plural resource name. A context can be thought of as the domain boundary for whatever it is you’re generating. The singular resource name is the actual “thing” that you are looking to represent in your application, and consequently it is also the name of the module that is generated. The plural resource name is used in a lot of function names and schema definitions where it makes more sense to refer to things in their plural form.
Following the plural resource name you provide the attributes of the resource, with some information about the type of attribute you’re adding. If you find yourself struggling to think of the value needed to represent an attribute all of the available types can be looked up in the docs for Ecto.Schema. You also have the option of adding :unique to the end of your attribute definition as shortcut for creating a unique index for it.
So with that all of that in mind, let’s start with our User resource. We said before that User was part of the Accounts area of concern, so we’ll use that as our context here. We’ll also define the attributes from the table above, for the email, display name and password of our user.
# Create User, pretty much cribbed from every example on Phoenix in the wild
mix phx.gen.html Accounts User users email:string:unique display_name:string password:string
One of the many files the above command will have created for us is lib/roster_app/accounts/user.ex. This is our definition of what a User is, and it’s namespaced under the Accounts context in our application. If you look at lib/roster_app/accounts/accounts.ex, you’ll see where the API for dealing with the Accounts context lives. This is how other parts of our application will interact with Users.
#lib/roster_app/accounts/user.ex
defmodule RosterApp.Accounts.User do
  use Ecto.Schema
  import Ecto.Changeset
  alias RosterApp.Accounts.User


  schema "users" do
    field :display_name, :string
    field :email, :string
    field :password, :string

    timestamps()
  end

  @doc false
  def changeset(%User{} = user, attrs) do
    user
    |> cast(attrs, [:email, :display_name, :password])
    |> validate_required([:email, :display_name, :password])
    |> unique_constraint(:email)
  end
end
Pretty much everything interesting in lib/roster_app/accounts/user.ex is coming from Ecto. Ecto is responsible for translating our code in to database calls, and managing changes against the structs that represent concepts in our domain.
We can see that the above code is defining a schema, which defines what it means to be a User in our application. We can see how this maps to the command we ran earlier. We have also had a changeset/2 function generated for us, which takes a map of data (attrs), diffs the map and the User struct (that’s cast/3), runs some validations against it for required fields, verifies we haven’t broken our unique constraint, and then returns an Ecto.Changeset.
A Changeset is just a neat way to manage common operations made against structs, and in this instance we’re using it to validate external input. A Changeset will also keep track of any validation errors that occur within the above pipeline, which we can use to provide feedback to the user.
Another interesting file is priv/repo/migrations/<datetime>_create_users.ex. This file is a database migration for our application. Here we can see it creating a table based on the attributes we defined in our generator command earlier, as well as a unique index on the email field.
defmodule RosterApp.Repo.Migrations.CreateUsers do
  use Ecto.Migration

  def change do
    create table(:users) do
      add :email, :string
      add :display_name, :string
      add :password, :string

      timestamps()
    end

    create unique_index(:users, [:email])
  end
end
Note that the migration has used the atom :users in the create table command, and the User schema uses the name "users". These will map directly to a table in Postgres called users. Remember, an atom is just a constant where its name is its value, so for our purposes here these values are the same. In some instances we will refer to the User module, and in others we may need to refer to the schema by name, "users".
We’re currently using string to hold passwords for now, and we’re not going to be adding any sort of security (or actual user interaction) in this application, but please do have a read through Nithin Bekal’s blog post on adding user authentication in to a phoenix application for a better example of handling user authentication.
When you ran the generator command earlier you may have missed the following message in your terminal.
Add the resource to your browser scope in lib/roster_app_web/router.ex:

    resources "/users", UserController
MAKE SURE YOU DO IT!
If you see an error saying “user_path does not exist” or similar when compiling your Phoenix application you’ve probably forgotten this step. So make sure you open lib/roster_app_web/router.ex and update the scope "/" block to look like the following.
scope "/", RosterAppWeb do
  pipe_through :browser # Use the default browser stack

  get "/", PageController, :index
  resources "/users", UserController
end
Alright, now let’s run that migration script. We’re going to use one of the mix tasks that come with Ecto. This will run all of the migrations that haven’t been run on our database before, so you can safely run and re-run this command. Fair warning though, a migration can only be run against a database once, so don’t go modifying it after you’ve run it without fixing up your database.
mix ecto.migrate
This should result in your application being compiled, and some helpful little messages like the following;
Compiling 10 files (.ex)
Generated roster_app app

16:50:17.530 [info]  == Running RosterApp.Repo.Migrations.CreateUsers.change/0 forward

16:50:17.530 [info]  create table users

16:50:17.552 [info]  create index users_email_index

16:50:17.566 [info]  == Migrated in 0.0s
We can actually take this opportunity to have little bit of a look inside our database to see what has been generated for us. On the command line run docker exec -it roster-app-dev-db /bin/sh to get shell access to our container, and then inside the container run psql -U postgres -d roster_app_dev to start up the Postgres interactive terminal.
If we use \d to list out the relations for our current database (we passed -d roster_app_dev in to the psql command, immediately setting it as our current database) we can see a familiar relation name, users!
roster_app_dev=# \d
                List of relations
 Schema |       Name        |   Type   |  Owner
--------+-------------------+----------+----------
 public | schema_migrations | table    | postgres
 public | users             | table    | postgres
 public | users_id_seq      | sequence | postgres
(3 rows)
Using \d+ RELATION_NAME we can get a bit more information about a particular relation, such as our users table.
roster_app_dev=# \d+ users
                                                          Table "public.users"
    Column    |            Type             |                     Modifiers                      | Storage  | Stats target | Description
--------------+-----------------------------+----------------------------------------------------+----------+--------------+-------------
 id           | integer                     | not null default nextval('users_id_seq'::regclass) | plain    |              |
 email        | character varying(255)      |                                                    | extended |              |
 display_name | character varying(255)      |                                                    | extended |              |
 password     | character varying(255)      |                                                    | extended |              |
 inserted_at  | timestamp without time zone | not null                                           | plain    |              |
 updated_at   | timestamp without time zone | not null                                           | plain    |              |
Indexes:
    "users_pkey" PRIMARY KEY, btree (id)
    "users_email_index" UNIQUE, btree (email)
If we look at the columns listed we will see that there are a few fields here that we didn’t specify. It looks like an id field has been created on our behalf, which for our purposes is fine as an integer, though this can be changed. But what in the devil are these inserted_at and updated_at columns? Well, much like the id column these were automatically added to our schema when we generated the User. If you look in our User and the associated migration you’ll see that there is a call to a timestamps/0 function in each case, and that’s where these columns are coming from.
The Phoenix Rises
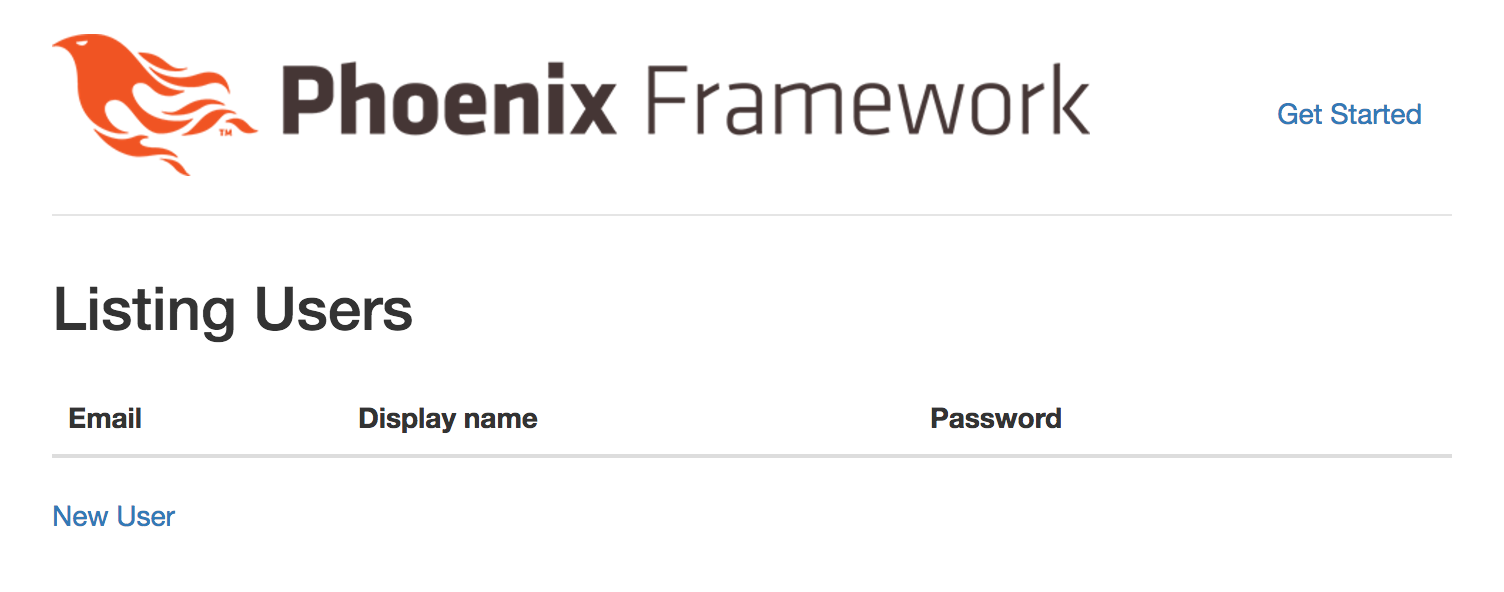
Alright, we’ve done a fair bit of digging around now, I think it’s clear that the generator has taken care of a lot of heavy lifting for us! Time to run our application. Running mix phx.server will spin up Phoenix in the dev profile, and now if we go to localhost:4000/users we should be greeted with a UI.
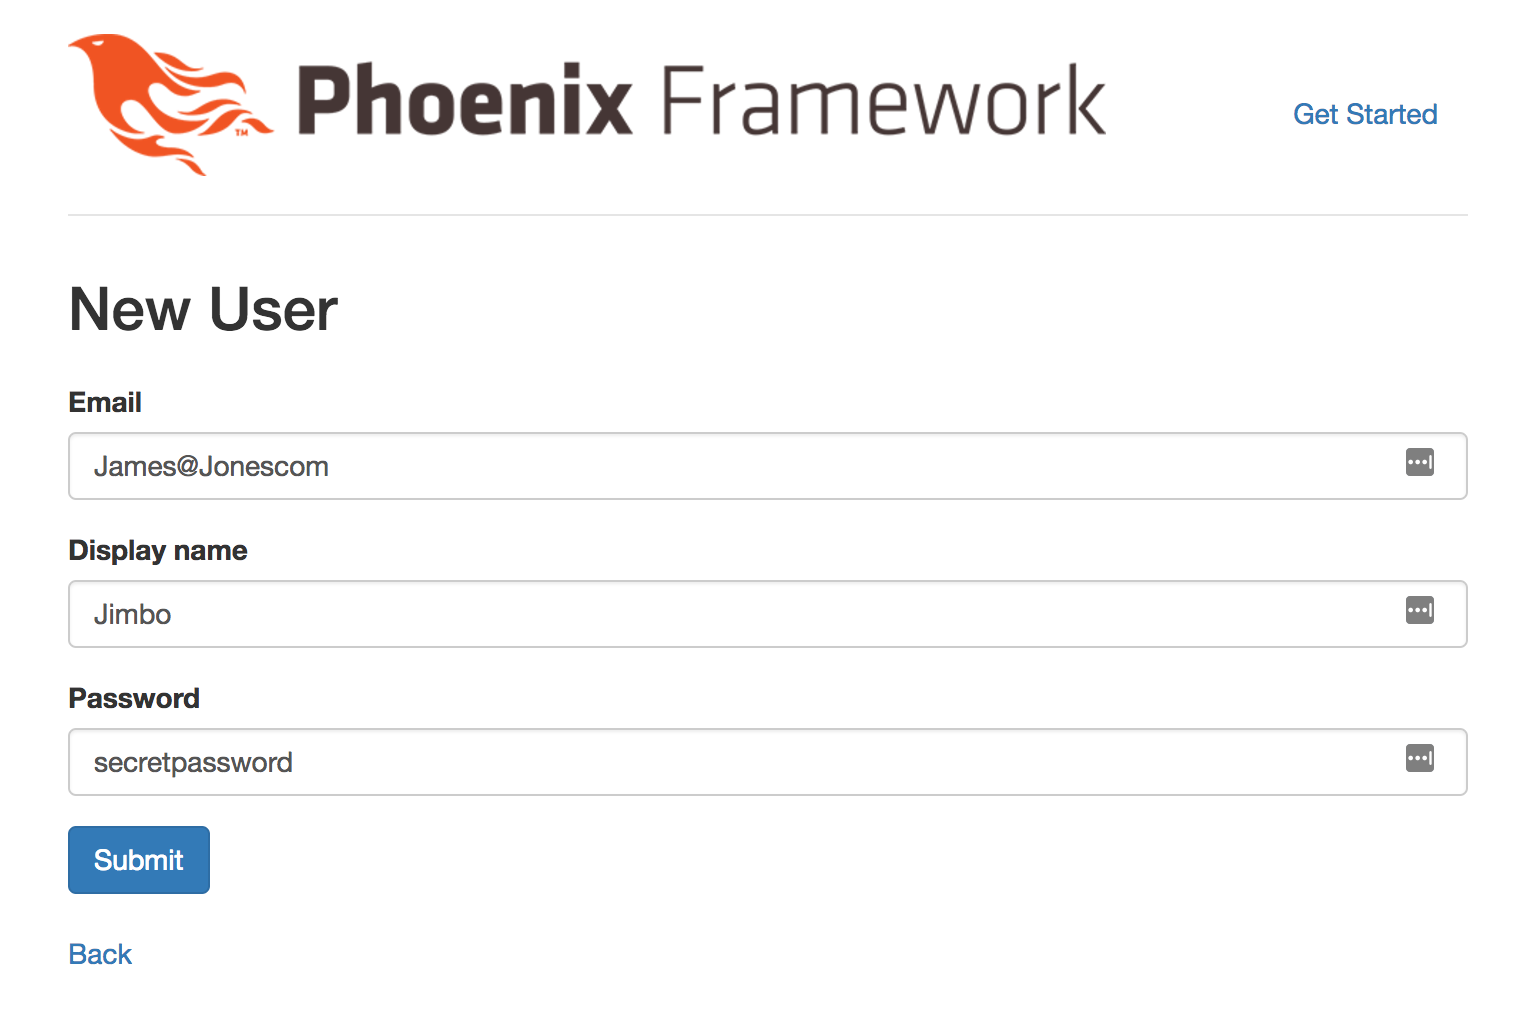
If we click on ‘new user’ we can now input data in to fields representing what we defined in our model!
Clicking ‘Submit’ should save that user in our application and persist it in Postgres.
SUCCESS!
Wait, hold on, that doesn’t look right…
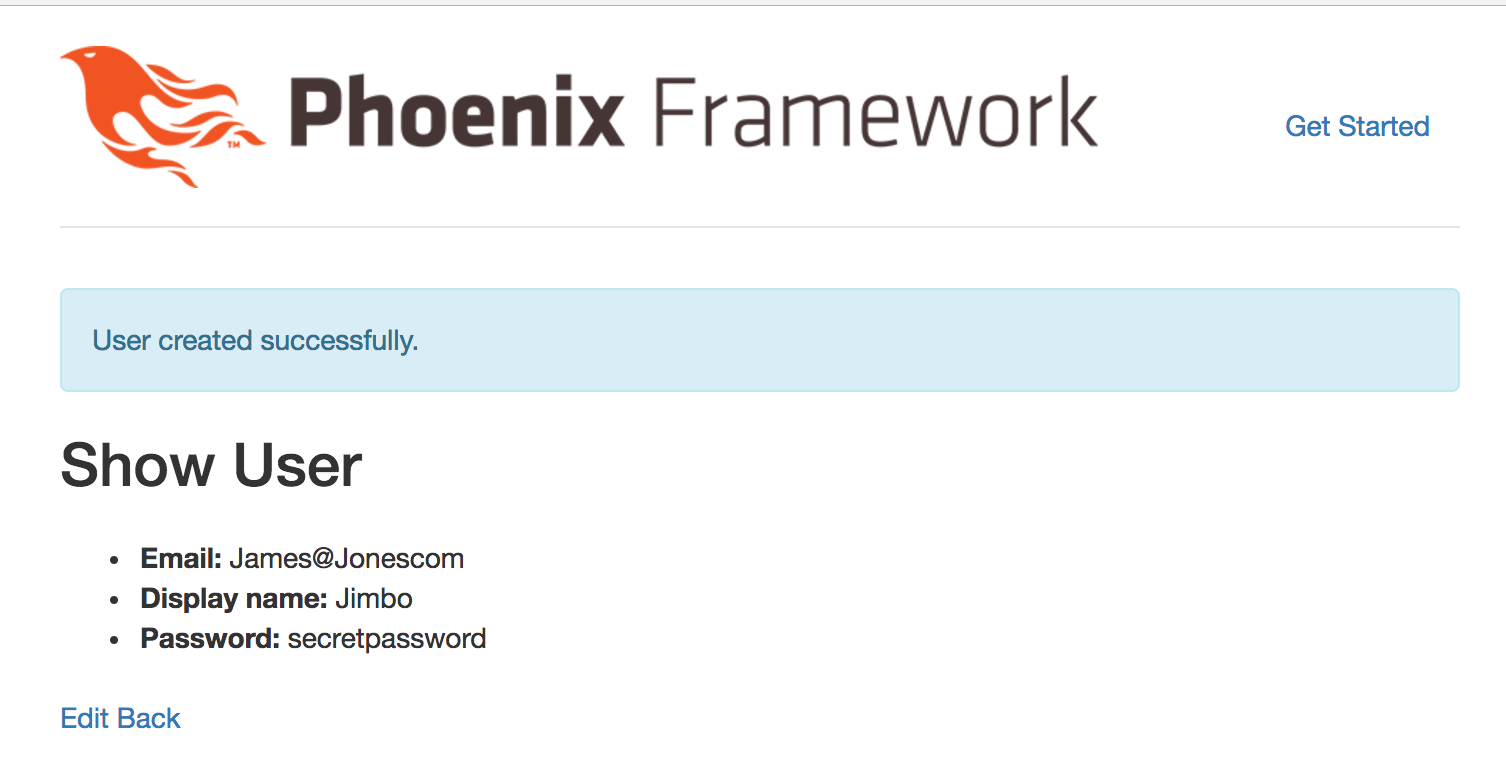
Looks like we were able to insert a user with an invalid email. I guess that makes sense, as we’ve really only defined the email field as a string. We better put in some validation for our User to prevent this kind of thing from happening in the future. Remember that the changeset/2 function in user.ex is where we will be validating changes against our Users, so we’re going to need to make a change in there. We know we want to validate that the email field looks roughly like an email, and the validate_format/4 function can do that for us.
We want to add the following before the unique_constraint/3 function call in the pipeline.
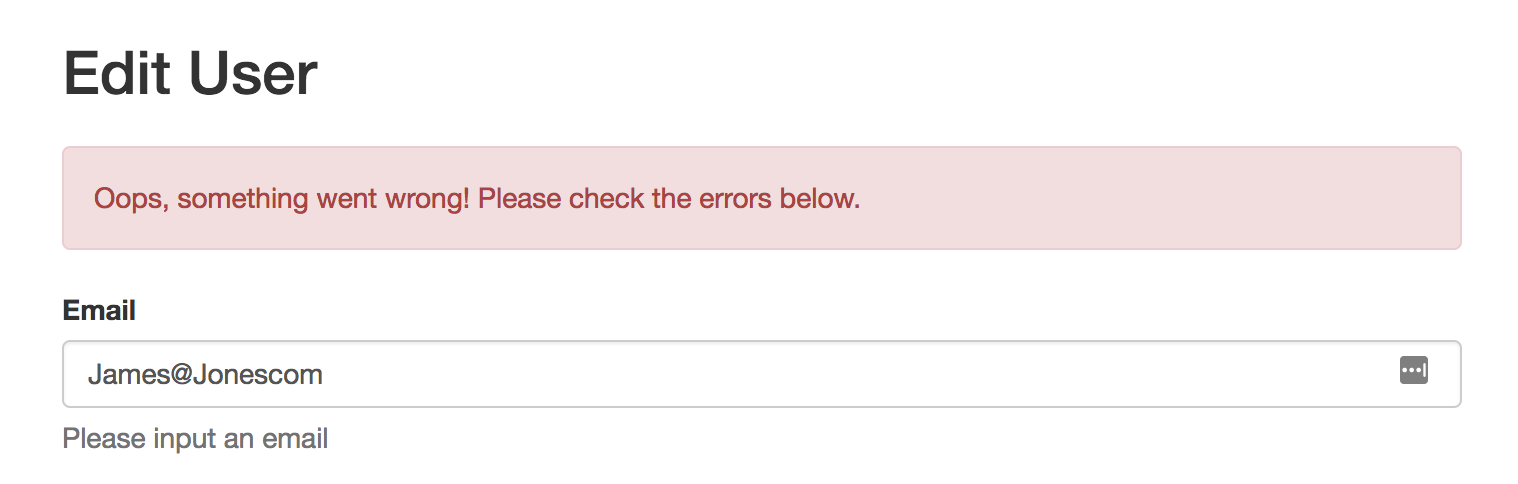
|> validate_format(:email, ~r/.+@.+\..+/, [message: "Please input an email"])
We want this to go before unique_constraint/3 because unique_constraint/3 requires a round trip to the database to perform its validation, and we want to avoid that unless every other validation passes.
Most validate_* functions that come with Ecto follow a very similar format, taking a changeset, one or more fields, and some named options. Some functions, such as validate_format/4 above take additional parameters where required, so it’s worth checking out the docs for Ecto.Changeset.
We can now go back to localhost:4000/users and verify that our validation is being run, either by editing an existing user or creating a new one. The regex we’ve used to validate emails isn’t foolproof, but it should prevent most basic format errors.
Shifting In To High Gear
If everything is working for you, now would be a good time to commit, because we’re about to add in Shift. Shifts fall under the Rostering area of concern, so as we did with User, we’ll use that area of concern as the context.
mix phx.gen.html Rostering Shift shifts user_id:references:users start_time:datetime end_time:datetime
That user_id:references:users bit is new, so let’s unpack that a bit. The first part, user, is our field name, which we’re using to keep track of the person that will be working the shift. By using references we’re telling the generator that we’re actually not going to store the user here, but instead will refer to data stored elsewhere. We use the plural users here, as the last part of this little triplet is the schema we’re referring to, not the name of the module.
The files generated this time around will have a very similar layout to the files that were generated for User, but let’s have a look at some of the differences. If we have a look in priv/repo/migrations/<datetime>_create_shifts.exs we will see the following in the change/0 function.
create table(:shifts) do
  add :start_time, :naive_datetime
  add :end_time, :naive_datetime
  add :user_id, references(:users, on_delete: :nothing), null: false

  timestamps()
end

create index(:shifts, [:user_id])
Here we can see what effect user_id:references:users had on the generated migration. If you remember earlier, user_id was the name of one of the columns in the users table that was made for us. One gotcha is that this column name is based on the field name we specified in our mix phx.gen.html command, and isn’t extracted from the schema we’re referencing. So if we had specified the person working the shift using something like assignee:references:users we would have to come in to this migration and change the call to references/2 to include column: :user_id.
One difference you may notice above is that I’ve added null: false for the :user_id column, which enforces a not-null constraint for the user_id column in the database. Don’t be afraid to play around in the generated files, until they’re committed (perhaps even merged in to master, depends on your appetite for this sort of thing) you are free modify them as you wish. Remember, generators are a starting point, not a destination.
Since we’ve made the database column non-nullable in our migration, we should add some validation to the Shift so that we can catch the missing field before hitting the database, and provide a more meaningful message to the user. All we need to do is add :user_id to both cast/3 and validate_required/3, and now all shifts in our system will need to be assigned to someone in order to be persisted to our data store.
# in lib/roster_app/rostering/shift.ex
def changeset(%Shift{} = shift, attrs) do
  shift
  |> cast(attrs, [:start_time, :end_time, :user_id])
  |> validate_required([:start_time, :end_time, :user_id])
end
Much like before, we’ll need to add the /shifts resource in router.ex.
resources "/users", UserController
resources "/shifts", ShiftController
After doing so, we can kill our server, and run mix ecto.migrate. If that completes happily we can run mix phx.server again to start up our app and then we should now be able to visit localhost:4000/shifts and add a shift.
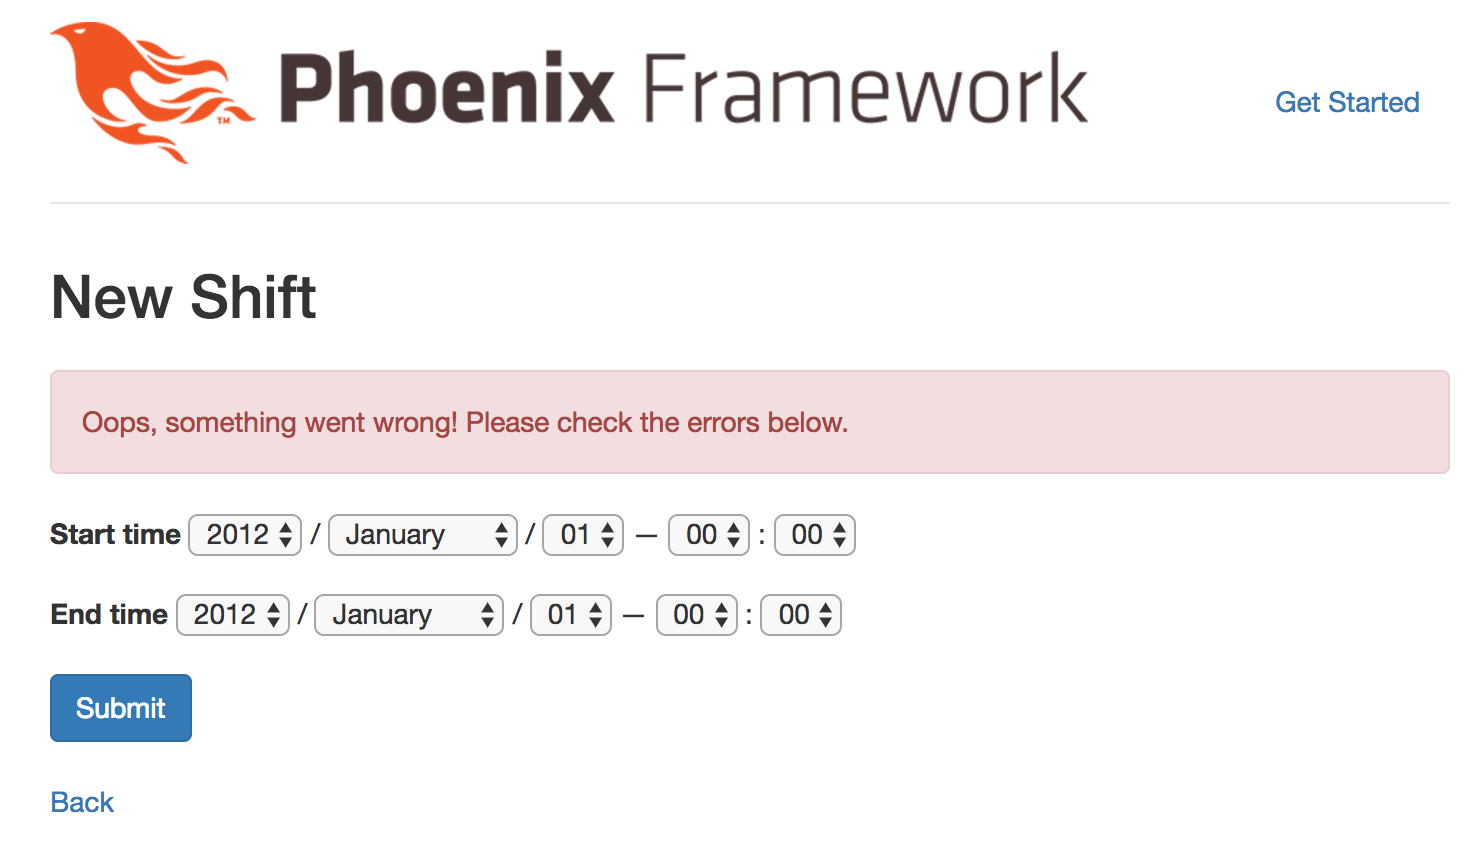
Huh? That’s odd, we filled in everything on screen.
Oh, right, we made :user_id mandatory, but we don’t have a way to input it!
Templates
So far in this project we’ve just been making use of the inbuilt templates that Phoenix has provided for us, but now we’ve changed the backend a bit and need to provide for that functionality in the frontend.
The templates for our app have an extension of .eex, which stands for “Embedded Elixir”. The templating engine is actually a part of Elixir itself itself, not Phoenix! What Phoenix’s HTML generator does do for us here though, is create some basic pages for us view and edit the data in our application, which is what we’ve been looking at so far. These templates live in lib/roster_app_web/templates, and are named after the modules we created earlier.
We know that we need to set the :user_id for a shift, so if we look at the lib/roster_app_web/templates/shift directory we should see five files; edit, form, index, view, and show. These templates are just ones generated by Phoenix, the names don’t mean anything, but for now, it makes it easy for us to work out where we need to make changes. If we open new.html.eex we’ll not see much.
<h2>New Shift</h2>

<%= render "form.html", Map.put(assigns, :action, shift_path(@conn, :create)) %>

<span><%= link "Back", to: shift_path(@conn, :index) %></span>
This looks almost like HTML, though there are some funny tags in here. Between <%= and %> we’ve actually got an elixir expression, and when these expressions are executed the result will be output in place of the tag. We can see that render is being called, with "form.html" as a parameter, as well as some named parameters, so let’s jump in to form.html.eex.
<%= form_for @changeset, @action, fn f -> %>
  <%= if @changeset.action do %>
    <div class="alert alert-danger">
      <p>Oops, something went wrong! Please check the errors below.</p>
    </div>
  <% end %>

  <div class="form-group">
    <%= label f, :start_time, class: "control-label" %>
    <%= datetime_select f, :start_time, class: "form-control" %>
    <%= error_tag f, :start_time %>
  </div>

  <div class="form-group">
    <%= label f, :end_time, class: "control-label" %>
    <%= datetime_select f, :end_time, class: "form-control" %>
    <%= error_tag f, :end_time %>
  </div>

  <div class="form-group">
    <%= submit "Submit", class: "btn btn-primary" %>
  </div>
<% end %>
There are a few things going on here. The entire template is wrapped in some sort of form_for function block, and we’re displaying an alert div if the changeset has any errors. The next three elements correspond with the inputs we saw earlier, for :start_time, :end_time, and a submit button.
We know we just need to input a number for the user’s id, which we’ve defined as :user_id in our Shift module. We can copy and paste one of the existing inputs, modifying it as necessary.
<div class="form-group">
  <%= label f, :user_id, class: "control-label" %>
  <%= number_input f, :user_id, class: "form-control" %>
  <%= error_tag f, :user_id %>
</div>
Notice that we not only changed the name of the field we’re editing, but the type of input is now a number_input. If we go back to the page for new shifts we should see that the page is already reloaded, and now has a new field! So let’s fill it in with a user id (try “1”), and then submit.
Success!
Well, hopefully, there’s a chance that putting in “1” as user_id didn’t work for you, and that could be for any number of reasons.
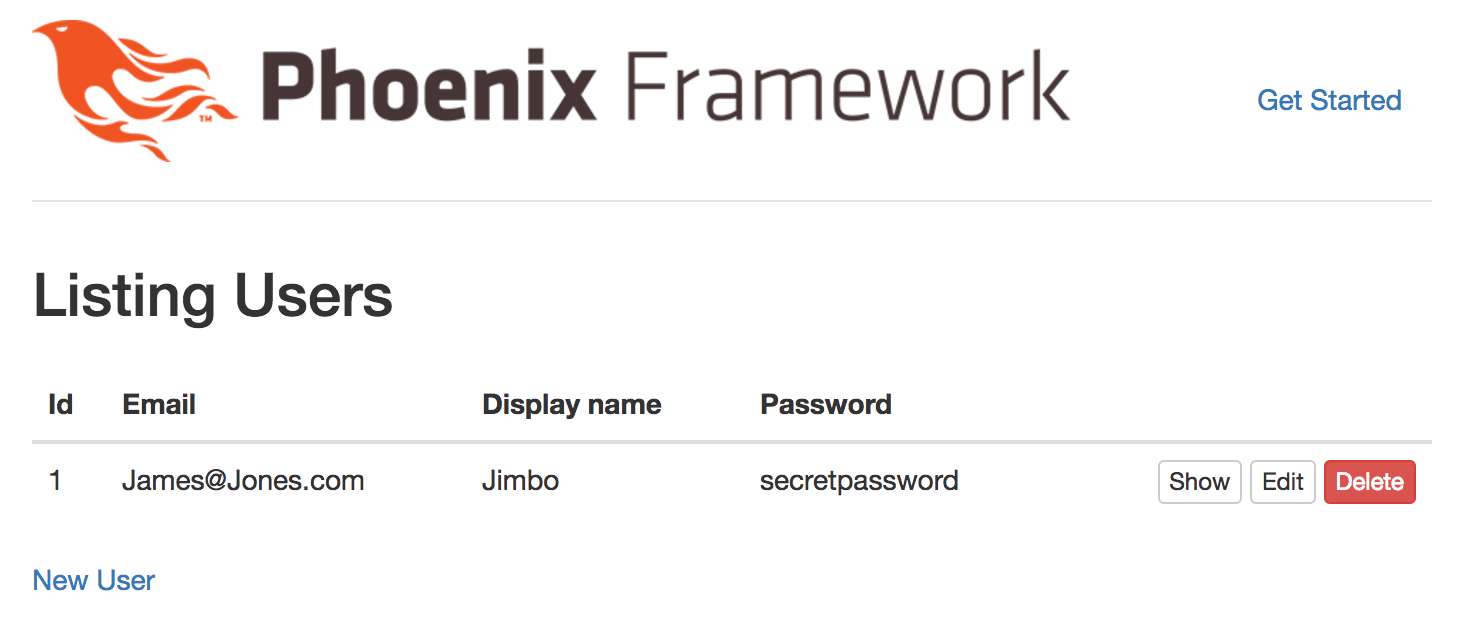
Let’s make it easy for ourselves to find a user’s id. The template that lists all the users is lib/roster_app_web/templates/user/index.html.eex, so let’s open it up and add a new column to the table to display each user’s id.
<tr>
      <th>Id</th>
      <th>Email</th>
...

<%= for user <- @users do %>
    <tr>
      <td><%= user.id %></td>
      <td><%= user.email %></td>
...
With those changes in place we should be able to see our user’s ids, and with that, we should now definitely be able to add a shift. If it’s still not working, have a go at debugging it. If that fails, revert to your last known good commit, and have another crack. If it does work, now would actually be a good time to commit your work so far.
Rostering
Let’s move along, and now add the Roster to our application.
mix phx.gen.html Rostering Roster rosters name:string
Not much new going on there, but the Roster is quite barren, it’s only got a name, but no shifts. Unfortunately, the generators don’t have an inbuilt way to create a one-to-many relationship, but adding one isn’t much more difficult that what we’ve already done today.
Before moving on, add the resource to router.ex as the instructions say, just like we did for our User and Shift resources.
The first place we’re going to start this time is inside our new migration, priv/repo/migrations/<datetime>_create_rosters.exs. There are a couple of things we want to take care of here. Firstly, we want to make sure that each roster has a name, by adding null: false to the column definition. Secondly, we want to add a reference from each shift to point to the roster it is a part of, so for our migration we’ll need to modify change/0 to the following.
create table(:rosters) do
  add :name, :string, null: false

  timestamps()
end

alter table(:shifts) do
  add :roster_id, references(:rosters, on_delete: :nothing), null: false
end
What we are doing here is modifying an existing table, shifts, which corresponds to table backing the schema for RosterApp.Rostering.Shift. We’re simply adding a new column, roster_id, which is going to reference the newly created table in this migration. Since a Shift can’t exist without being on a roster we’re going to set the reference to be non-nullable, and we will need to update the schema in our Shift module to reflect that.
We’ll need to add the field to the schema, field :roster_id, :id, and then modify the changeset/2 function to cast the :roster_id from attrs, and make sure it’s provided in the changeset using validate_required/3.
schema "shifts" do
  field :end_time, :naive_datetime
  field :start_time, :naive_datetime
  field :user_id, :id
  field :roster_id, :id

  timestamps()
end

@doc false
def changeset(%Shift{} = shift, attrs) do
  shift
  |> cast(attrs, [:start_time, :end_time, :user_id, :roster_id])
  |> validate_required([:start_time, :end_time, :user_id, :roster_id])
end
Alright, kill the server and run mix ecto.migrate to run the migrations.
 19:07:10.546 [info]  == Running RosterApp.Repo.Migrations.CreateRosters.change/0 forward

 19:07:10.546 [info]  create table rosters

 19:07:10.561 [info]  alter table shifts
 ** (Postgrex.Error) ERROR 23502 (not_null_violation): column "roster_id" contains null values
Woah, that failed!
It looks like since we’ve already got shifts in the shifts table, and haven’t provided a default value for a non-nullable column, we can’t perform the migration. Though in the real world this sort of migration might take a bit of work, the easiest course of action for us here is to nuke the database, and start again.
$ docker stop roster-app-dev-db
roster-app-dev-db

$ docker run --rm --name roster-app-dev-db -p 5432:5432 -d postgres:9.6.2
bb30c1c6ae6fe50da64586167da6487f7aab1757a5dda65e4b4ef365561c3311

$ mix ecto.create && mix ecto.migrate && mix phx.server
The database for RosterApp.Repo has been created

19:09:23.517 [info]  == Running RosterApp.Repo.Migrations.CreateUsers.change/0 forward

19:09:23.518 [info]  create table users
...
19:09:23.658 [info]  == Migrated in 0.0s
[info] Running RosterAppWeb.Endpoint with Cowboy using http://0.0.0.0:4000
19:09:25 - info: compiled 6 files into 2 files, copied 3 in 914 ms
So after that we will have to do a little bit more data entry to get back to where we were.
Create a roster by visiting localhost:4000/rosters, and filling in the roster’s name, then create a user again, taking note of their user id. If we go to localhost:4000/shifts we’ll see we can add in a user’s id, but we can’t add in the id of the roster we’d like it to be a part of.
Like before, we’ll need to modify lib/roster_app_web/templates/shift/form.html.eex to include a new number_input field.
<div class="form-group">
  <%= label f, :roster_id, class: "control-label" %>
  <%= number_input f, :roster_id, class: "form-control" %>
  <%= error_tag f, :roster_id %>
</div>
We’ve already updated the changeset/2 function to handle the :roster_id, so now we just need to have a way of getting the :roster_id from the UI. We’re going to modify lib/roster_app_web/templates/roster/index.html.eex in pretty much exactly the same way as we modified lib/roster_app_web/templates/user/index.html.eex.
...

<tr>
  <th>Id</th>
  <th>Name</th>

...

<%= for roster <- @rosters do %>
    <tr>
      <td><%= roster.id %>
      <td><%= roster.name %></td>

...
Great! Now we can take the user id for our user, the roster id for our roster, and create a new shift for that user on the roster!
Wow… We’ve come a long way already, but let’s keep going!
Stop, Organise and Listen
So now we come to organisations. The role of an organisation in this application is to keep track of all the rosters for a group of people, as well as maintaining the relationships individuals have with rosters within organisations that thay’re a member of.
mix phx.gen.html Organisations Organisation organisations name:string
That’s a pretty familiar looking command, with not much of note happening. We’ve introduced a new context, “Organisations”, which we will use as a boundary for operations that affect Organisations and their relationships. While we’re here, now is a good time to add resources "/organisations", OrganisationController to our router.
We’ve so far only modelled one-to-many relationships as in the case of User to Shifts, and Roster to Shifts, but in an Organisation we’re going to have to handle many Users, which may be a member of many Organisations. Dealing with many-to-many relationships is a mostly manual affair, and reading up on how Ecto does it is recommended. We’ll be getting our hands a little dirtier than before, but nothing here is too wildly different from what we’ve done so far, so don’t be deterred.
We need to create an intermediary table to store the relationship information between Users and Organisations. We will start with just two relationship types, one standard user type, and an administrator type. A user can’t have both relationship types with any given organisation at the same time, so we can store these relationships in the one place.
Let’s start by opening up our database migration in priv/repo/migrations/<datetime>_create_organisations.exs. Since we want every organisation to have a name, let’s start by marking that field as non-nullable.
create table(:organisations) do
  add :name, :string, null: false

  timestamps()
end
We know we need to create a new table to hold the relationship information. We also know that the new table will need to maintain a reference to a User, a reference to an Organisation, and the relationship between the two. So within this existing migration’s change/0 function, let’s add the following.
create table(:organisations_users) do
  add :organisation_id, references(:organisations, on_delete: :nothing), null: false
  add :user_id, references(:users, on_delete: :nothing), null: false
  add :relationship, :string, null: false

  timestamps()
end

# A user may only have at most 1 relationship with a given organisation
unique_index(:organisations_users, [:organisation_id, :user_id], name: "organisations_users_unique_index")
There’s not much new going on here, just references/2 calls like we’ve seen before, and we’ve defined a :string column to hold the :relationship, and set all of these to null: false, which the database will now enforce for us. You’ll notice that the name of the table follows a similar pattern to those used in the generators, and we’ll need to remember this name when we define our schemas.
Since a person can only have one relationship with each organisation we can capture that constraint in our database with a new unique index. We define our unique index using the helpfully named unique_index/3 function. For our use case our unique index is using two columns, since the relationship only has to be unique in combination, not in isolation. That is, the same organisation id, and the same user id can appear in the table multiple times, just not multiple times together.
We also need to remember that a Roster belongs to exactly 1 Organisation as well, so let’s capture that in our database by adding the following to this change/0 function.
alter table(:rosters) do
  add :organisation_id, references(:organisations, on_delete: :nothing), null: false
end
We’ve made a few changes to the database now, and they’re going to prevent our application from working unless we make some changes. The first and most significant change is adding a schema to capture the relationships between Users and Organisations in our application.
Create a new file, roster_app/organisations/organisation_user.ex, we’re going to make it look very similar to all of our other schemas.
defmodule RosterApp.Organisations.OrganisationUser do
  use Ecto.Schema
  import Ecto.Changeset
  alias RosterApp.Organisations.OrganisationUser
  alias RosterApp.Organisations.Organisation
  alias RosterApp.Accounts.User

  @default_user_relationship :member
  @admin_user_relationship :admin

  schema "organisations_users" do
    has_one :organisation, Organisation
    has_one :user, User
    field :relationship, :string, default: @default_user_relationship
  end

  @doc false
  def changeset(%OrganisationUser{} = organisation_user, attrs) do
    organisation_user
    |> cast(attrs, [:organisation, :user, :relationship])
    |> validate_required([:organisation, :user, :relationship])
    |> validate_inclusion(:relationship, [@default_user_relationship, @admin_user_relationship])
    |> unique_constraint(:organisation, name: "organisations_users_unique_index")
  end
end
We’ve stored our relationship types as attributes on the module, @default_user_relationship and @admin_user_relationship. The schema itself maps very closely with the database table we defined earlier, only we’ve defined a default value for the relationship in our application.
The changeset/2 function has some new function calls too. We’re using validate_inclusion/4 to make sure that the relationship is one of the known types we defined earlier. We’re also providing a name option with our unique_constraint/3 call, which specifies the name of the index that will be used to validate the unique constraint.
You’ll notice that we’re only providing one field name for the unique constraint, which the Ecto docs explain will be used as the key for our changeset error. That is, in practical terms, that the error will be associated with the :organisation field of our schema. We can only provide one field name to unique_constraint/3, but we must make sure it’s part of the index whose name we have provided.
Now that the relationship schema has been created, we can reference it from both the Organisation, and Roster modules. Starting with lib/roster_app/organisations/organisation.ex, we can add a many_to_many field to the schema with the name :users, providing the User module as the type.
We also have to specify the schema to that the many-to-many relationship is stored in. We do this by providing either a schema name or module containing a schema as the join_through option. Below I’ve decided to use the OrganisationUser module we just created.
schema "organisations" do
  field :name, :string
  many_to_many :users, RosterApp.Accounts.User, join_through: RosterApp.Organisations.OrganisationUser

  timestamps()
end
And likewise, in our User, we can add the many_to_many field to the schema, with the name :organisations, providing the Organisation module as the type, joining through the OrganisationUser module.
schema "users" do
    field :display_name, :string
    field :email, :string
    field :password, :string
    many_to_many :organisations, RosterApp.Organisations.Organisation, join_through: RosterApp.Organisations.OrganisationUser

    timestamps()
  end
Since Rosters also have a relationship with Organisations we will need to update its schema to reflect the new Organisation module we’ve created.
We first need to add a belongs_to field to our schema, to indicate that each roster is “owned” by an organisation. We will also need to update the changeset/3 call to include the :organisation_id in the cast/3 and validate_required/3 calls.
schema "rosters" do
  field :name, :string
  belongs_to :organisation, RosterApp.Organisations.Organisation

  timestamps()
end

@doc false
def changeset(%Roster{} = roster, attrs) do
  roster
  |> cast(attrs, [:name, :organisation_id])
  |> validate_required([:name, :organisation_id])
end
Now if we try and run mix ecto.migrate now we’ll face the same problem we did when adding Roster, we’ve defined a non-nullable field (on rosters) with no sane default. So restart your db container, and then run mix ecto.create && mix ecto.migrate && mix phx.server to get everything running.
If we try and add in our data again we’ll get stuck when attempting to create a roster, since we haven’t updated the UI to handle the new :organisation_id field we just made a required field. Opening up lib/roster_app_web/templates/roster/form.html.eex we can simply add another number_input to collect the data we need.
  <div class="form-group">
    <%= label f, :organisation_id, class: "control-label" %>
    <%= number_input f, :organisation_id, class: "form-control" %>
    <%= error_tag f, :organisation_id %>
  </div>
At this point, we should be able to create a user, an organisation, roster and shift.
Time For A Breather
If you haven’t worked with Phoenix before, we really covered a lot today.
We got Phoenix installed, modelled our domain, used generators to scaffold out parts of our application according to that domain, modified database migrations, schemas, modules, changeset validations, and even the UI!
Hopefully you explored some of the documentation linked to throughout this blog post. I found it to be most helpful, especially for Ecto.Changeset and Ecto.Migration.
Most importantly we learned that generators are a starting point, and that there’s nothing to be scared of when modifying code that has been generated for you, you aren’t beholden to what the generators can do for you.
One of the things that has really pleased me as I’ve been learning Phoenix and Ecto is how little magic there is really going on, and it’s quite easy to peek under the hood and look at the git repos of Phoenix or Ecto .
There’s a lot to improve with this app, and with our understanding of Phoenix, but this is a good start.
The git repo for this project can be found at Huddo121/RosterApp
Subscribe via RSS